Your Cart is Empty
FREE Shipping WORLDWIDE | $5 OFF Use Code SURF5BUCKS

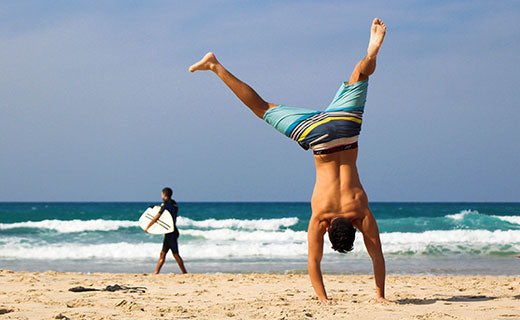


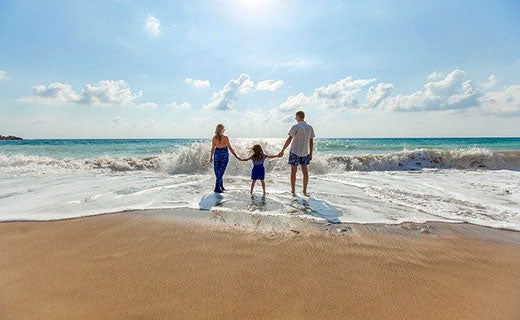


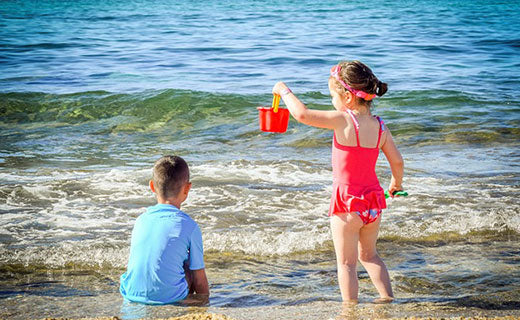


If you love spending time outdoors at the beach, then you'll love this DIY beach table. A beach table is a great addition to any patio or deck. If you're wondering how to create it, it's a simple project that can be completed on a weekend, and it will provide a place to enjoy the outdoors and the beach. This table is not only great for picnics and beach days, but it's also perfect for keeping your drinks and food off of the sand. Plus, it's easy to make and only requires a few materials. Follow these simple steps and you'll have your very own beach table in no time.
Making a beach table is a fun and easy summer project that can be done in a day. It’s a great way to bring the beach to your backyard or patio, and it’s perfect for entertaining. Here’s how to make your own beach table: You will need a piece of plywood, four 2x4s, screws, sandpaper, paint, and a drill.
First, cut the plywood to the desired size and shape. Next, cut the 2x4s to the appropriate length and screw them into the plywood. Once the frame is complete, sand the entire table from any rough edges.
Then, for decoration and finishing touches wipe away any dirt or debris. Paint the table with a coat of primer, then paint it with your desired color. We used a light blue to match the ocean. Once the paint is dry, add a layer of mod podge or another clear sealer. This will protect the table from the UV rays of the sun and make it last longer. Allow the paint and sealer to dry completely before using the table. However, if you don't have time to make a beach table, you can always search and buy a table that meets your needs.
If you're looking for a unique and stylish addition to your home, why not try your hand at making a resin table? Resin tables are made by combining clear resin with decorative elements like shells, stones, or even fabric, to create a one-of-a-kind piece of furniture. The great thing about making your own resin table is that you can customize it to suit your personal taste and style. Whether you want a sleek and modern table or something with a more organic feel, the resin is the perfect material to work with. Plus, it's surprisingly easy to build!
First, you will need to gather your materials to prepare for the creating of the ocean table frame. You will need a mold, resin, and hardener. You can purchase these items at your local craft store. Next, you will mix the resin and hardener together according to the instructions on the packaging. Once the mixture is ready, you will pour it into the mold. Be sure to tap the mold lightly to remove any air bubbles. Allow the resin to set for the amount of time specified on the packaging. Finally, pour the mixture onto your table and allow it to cure. Once your resin table is set and with a clean edge, you can add any additional details to your resin ocean table, such as legs or a top, and enjoy your new pieces of furniture!
If you're looking for fun summer projects, why not try making your own beach table? This DIY project is surprisingly easy, and you can customize it to fit your own home decor. A beach table is a great way to enjoy the outdoors and the beaches. It's a simple project that can be completed on a weekend. Plus, it's a great way to enjoy the summer sun and sand without having to leave your backyard! We hope our guide on how to make a beach table helped you with your first project. All you need is a little sand, some shells, and a few candles to set the mood. Arrange everything on a small table or tray, light the candles, and close your eyes. You'll be transported to the beach in no time!
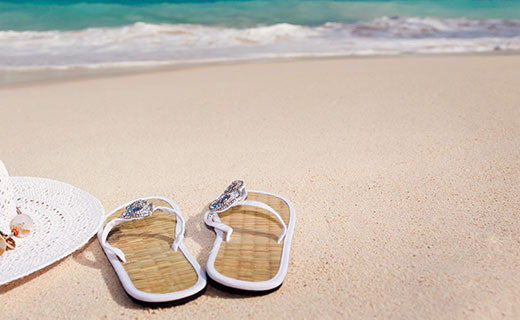
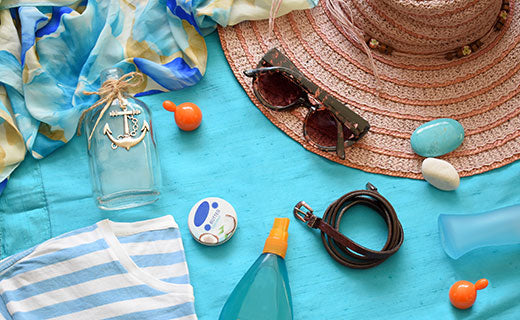
Adding a portable beach coffee table to your home décor is a great way to create a creative coastal feel in your house, even if you live far from the ocean. Beach tables are relatively easy and inexpensive to make and can be customized to match your own personal style. To get started, you’ll need a wood table, some sand, shells, and starfish. You can also add other nautical items like lanterns, netting, and rope from a crafts shop.

When you're planning a beach day, one of the first things you'll need is a good beach table to put your coffee on. But what makes a good beach table?
Here are a few things to keep in mind: First, the table should be made of sturdy material that can withstand wind and sand. It's also important that the table is easy to clean - you don't want sand getting all over your belongings. Second, the table should be the right size for your needs. If you're planning on spending the day at the beach with a large group, you'll need a bigger table. But if it's just for two or three people, a small table will do. Finally, don't forget the chairs! Next, gather some sand, shells, and other beach-themed decorations and products.
You can find these items at your local craft store. Once you have your supplies, simply cover the table with sand and arrange your shells and other decorations however you like. This project is easy, affordable, and a great way to bring a little bit of the beach into your home.
Summer is the perfect time to enjoy the outdoors with friends and family. One way to do this is to make your own beach coffee table or a folding table. This is a great project for people of all ages and can be done in a few simple steps. First, gather materials and accessories such as a tablecloth, sand, shells, and sea glass. Next, spread the tablecloth on the ground and cover it with sand. Then, arrange the shells and sea glass on the tablecloth. Finally, enjoy your beautiful beach table!
If you want to make an ocean epoxy table, you will need the following supplies: resin, hardener, mixing cups, stir sticks, and gloves. You will also need a well-ventilated area to work in. First, measure out the resin and hardener according to the manufacturer's instructions. Next, mix the two components together thoroughly. Once the epoxy is mixed, pour it into molds or onto a surface to create your desired shape. Finally, allow the epoxy to cure for the recommended amount of time before handling it.
ABOUT THE AUTHOR
Aleksandra Djurdjevic
Senior Content Creator
Aleksandra Djurdjevic is a senior writer and editor, covering surf, kayak and various watersports activities. She has previously worked as ESL teacher for English Tochka. Aleksandra graduated from the Comparative Literature department at the Faculty of Philosophy in Serbia. Aleksandra’s love for the ocean / rivers, getting out waves, season after season, seeking epic adventures across the globe helps her continue to be a top expert at CSG.


