Your Cart is Empty
FREE Shipping WORLDWIDE | $5 OFF Use Code SURF5BUCKS


There are several steps in creating your own T-shirt or t-shirt for your kid. Firstly, you need to create the image on the shirt. This is a very challenging and time-consuming task. You need to be very neat while cutting out the transfer image. Otherwise, the design will be degraded because the paper will show through. Once you've created the image, print it out on a t-shirt.
You can create a custom-printed T-shirt with a heat-transfer process. The process involves a small amount of heat, a t-shirt, and transfer paper. You can find heat transfer paper at stationery, craft, and office supply stores. This paper is used to transfer images from an image to a shirt. Once you have your design and the paper, you can begin the process of making your T-shirt.
In order to create a custom-printed T-shirt, you will need to find the right transfer paper. Transfer paper comes in two different types: light-colored paper and dark-colored paper. Before you purchase transfer paper, make sure your printer can handle the size and type of fabric you want to print on. For light-coloured fabrics, use transfer paper that's designed for that color. Otherwise, you'll end up with a mirror image. For darker-coloured shirts, skip the mirror image test and crop your image.
To make a T-shirt, you will need iron-on transfer paper. You can get this type of paper at any craft store. You can also download designs from the internet and print them on a T-shirt. You will need to lay the shirt flat to avoid stretching the fabric. Then, place the image where you want it to appear. Once you're happy with the image, place the parchment paper over the image.
To iron the t-shirt, you should first clear an area on which to work. You can use an ironing board or a table. To protect the surface, place a cloth over it. You can also use a sheet of paper underneath the shirt while ironing. This will help protect the t-shirt from any spills. Once you've done this, you can hand-wash the T-shirt, using cold water.
The first step in screen printing on a home made T-shirt is to lay out the T-shirt. Place the silkscreen on the T-shirt, recessed side up. Place a small amount of ink on the top of the image. Drag it over the image without applying any pressure, this is called flooding. After the ink dries on the screen, run the squeegee over the image again. This time, apply pressure so that you push the paint through the screen.
Once the screen is prepared, the squeegee needs to be cleaned using warm soapy water. The squeegee should be used with a small amount of ink. The squeegee should be used with one hand. It is important to use one stroke at a time. The screen should be clean and dry after each print. Before finishing the screen print, always test it on a scrap piece of cardboard. The screen should not be too wet because a damp shirt will cause the ink to transfer.
If you're a creative person, you can use Vinyl graphics when making a homemade T-Shirt. A little bit of design software will help you create the best stickers. You should try to fit as many designs on a page as possible. You can also rotate and move them around the page so they look as neat as possible. Once you have your designs arranged, you need to add cut lines. Open the Trace panel on the right and drag a rectangle around your designs. If the design is too small, you'll have to adjust the threshold.
The first step in creating a homemade T-shirt with vinyl graphics is to sketch out the design on paper. You may want to include a favorite word, a nickname, or a quote. But if you're using words, try to keep them to a maximum of 30 characters, because anything longer will take more time to weed. Simple outlines or silhouettes are easier to weed than full-blown text.
There are two main types of production when it comes to t-shirts. One is called dropshipping and the other is print-on-demand. The first is a good option if you don't have a large budget, as you'll only have to pay for the production when someone orders it. However, when you're starting out, you should get samples and road-test your design to make sure it's not too risqué. You can also use some design tips to create eye-catching t-shirts.
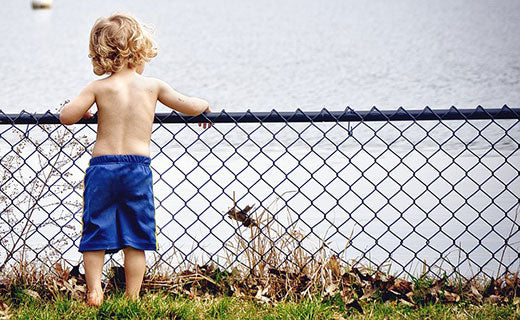
After you've outlined your design on the canvas, you need to figure out the size of the actual shirt. It's important to remember that a t-shirt is going to be 18 inches by 18 inches, and it's best to use an 18"x18" canvas for your sketch. You also need to think about the size of the t-shirt you're making, because you'll have to buy separate screens if you're printing on a smaller size. This means you'll need to add more money for the process. If you want to make one t-shirt for your kid, you can read about it step-by-step here.
